
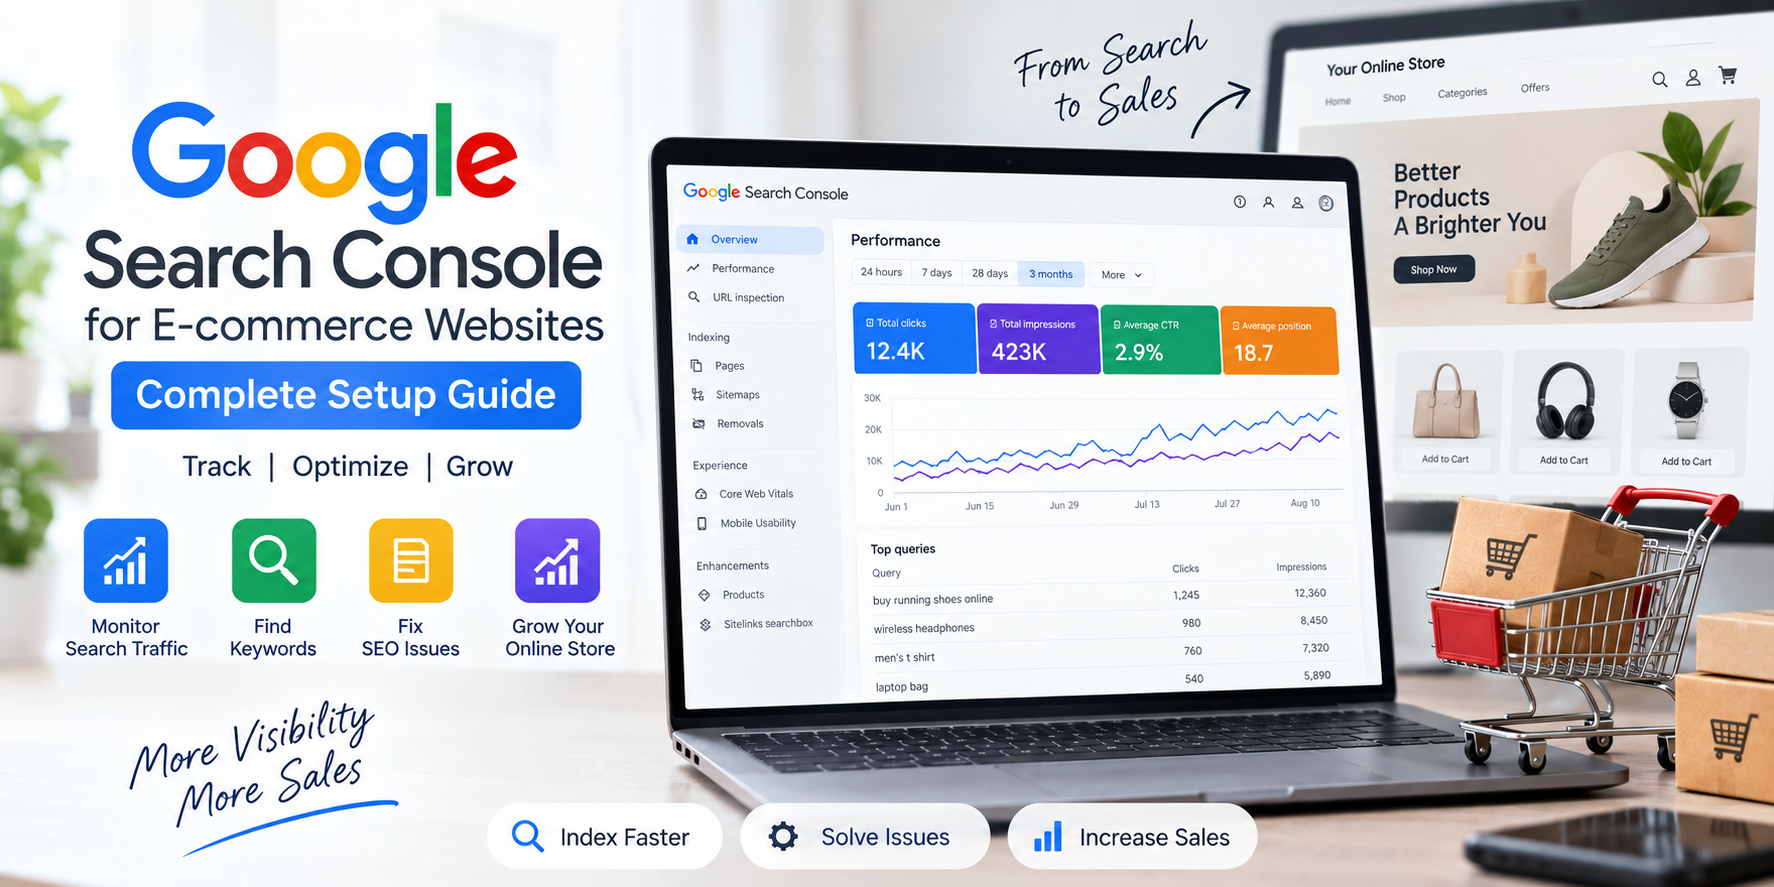
How to Connect Your E-commerce Website to Google Search Console
Connecting your e-commerce website to Google Search Console is a straightforward process. Follow these steps to set up your website and start monitoring its Google Search performance.
Step 1: Open Google Search Console
Go to Google Search Console and sign in using the Google account you want to use for managing your website.
Choose the Start now option if you are using Search Console for the first time.
Step 2: Add Your Website
After signing in, click Add Property.
Google will provide two options:
- Domain
- URL prefix
For most website owners, the Domain property is a good choice because it covers all versions of your website, including different protocols and subdomains.
For example:
example.com
If you choose URL prefix, you can enter your complete website URL, such as:
https://www.example.com/
Step 3: Verify Website Ownership
Google needs to verify that you own or manage the website.
If you select Domain, Google normally asks you to add a DNS record to your domain's DNS settings.
You will receive a verification record from Google.
Copy the provided TXT record and add it to your domain's DNS management panel.
Depending on your domain provider, the DNS management area may be available through your domain registrar or hosting provider.
After adding the record, return to Google Search Console and click Verify.
DNS changes can take some time to propagate. If verification doesn't work immediately, wait and try again later.
Step 4: Alternative Verification Methods
If you use URL prefix, Google provides several verification methods.
Depending on your website and setup, these may include:
- HTML file upload
- HTML meta tag
- Google Analytics
- Google Tag Manager
- DNS verification
For a website where you can edit the HTML code, the HTML meta tag method can be convenient.
Google provides a verification tag similar to:
<meta name="google-site-verification" content="YOUR_VERIFICATION_CODE">
Place the tag inside the <head> section of your website.
Then return to Search Console and click Verify.
Step 5: Create an XML Sitemap
After verifying your website, make sure your e-commerce website has an XML sitemap.
A sitemap helps search engines discover important URLs on your website.
A typical sitemap URL may look like:
https://www.example.com/sitemap.xml
For an e-commerce website, your sitemap should ideally include important pages such as:
- Product pages
- Category pages
- Important landing pages
- Blog pages
Avoid including unnecessary or duplicate URLs in your sitemap.
Step 6: Submit Your Sitemap
Open your website property in Google Search Console.
From the left-hand menu, select Sitemaps.
Enter your sitemap path, for example:
sitemap.xml
Then click Submit.
Google will process the sitemap and show its status in Search Console.
Step 7: Check Page Indexing
After submitting your sitemap, open the Pages or indexing report.
This helps you understand which URLs Google has indexed and which URLs have problems.
Pay particular attention to important e-commerce pages.
For example:
Product page → Indexed
Important category page → Indexed
Important product page → Not indexed
If an important page isn't indexed, investigate the reason shown by Google before requesting indexing.
Step 8: Request Indexing for Important New Pages
When you launch an important new product or landing page, you can use the URL Inspection tool.
Enter the complete URL into the inspection field.
Google will show information about the URL and whether it is currently indexed.
If appropriate, you can use Request Indexing to ask Google to crawl the URL.
Remember that requesting indexing does not guarantee immediate indexing or higher rankings.
Step 9: Monitor Search Performance
Once your website is connected, open the Performance report.
You can monitor:
- Total clicks
- Total impressions
- Average CTR
- Average position
- Search queries
- Pages
- Countries
- Devices
For an e-commerce website, this data can help you identify which products and categories are attracting organic search visibility.
Step 10: Check for SEO and Technical Issues
Regularly review the reports available in Search Console.
Look for issues affecting important pages, including:
- Indexing problems
- Server errors
- Redirect problems
- Sitemap issues
- Mobile-related issues
- Search appearance issues
Fix important technical problems and then monitor the affected URLs again.
What to Do After Connecting Search Console
Connecting Search Console is only the beginning.
For an e-commerce website, you should establish a regular SEO workflow:
Connect → Verify → Submit Sitemap → Check Indexing → Monitor Performance → Identify Opportunities → Optimize → Measure Again
This process helps you continuously improve your website's organic search visibility.
Final Checklist
Before considering your Google Search Console setup complete, make sure:
- ✓ Website property has been added
- ✓ Ownership has been verified
- ✓ XML sitemap has been created
- ✓ Sitemap has been submitted
- ✓ Important product pages are indexable
- ✓ Important category pages are indexable
- ✓ URL Inspection is working
- ✓ Search Performance data is being monitored
- ✓ Technical issues are reviewed regularly
For businesses that want a technically strong and SEO-friendly e-commerce website, proper website development and SEO should work together from the beginning. Explore our Web Development Services and SEO Services to build and grow your online store.